Device is pending in TP-Link Wireless Controller

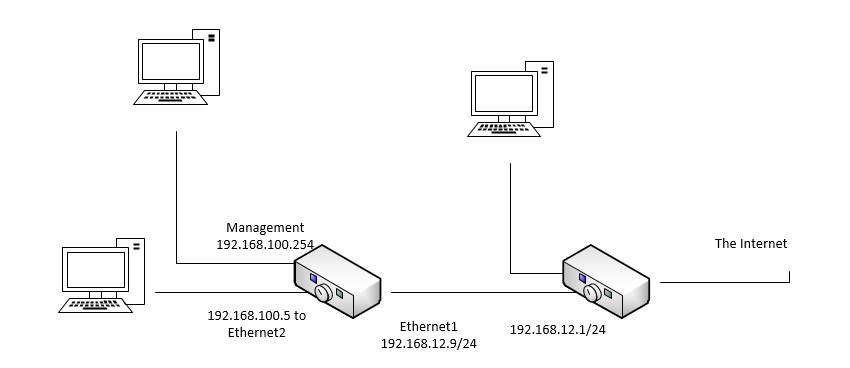
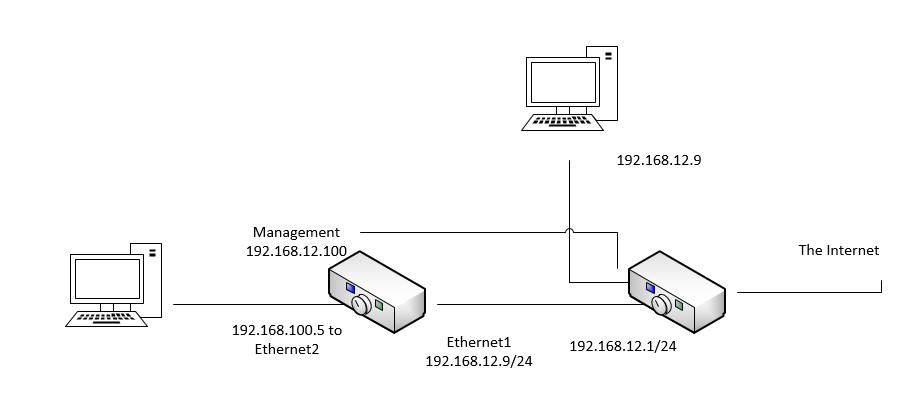
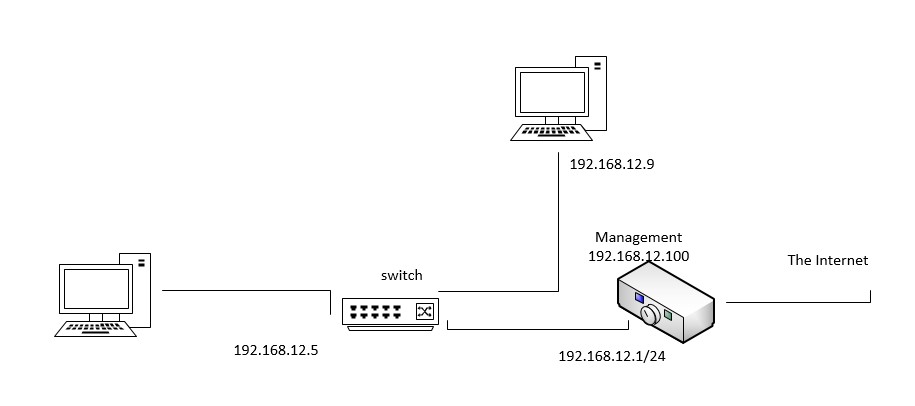
Situation: The client purchased two TP-link wireless APs and tries to configure them as Wireless Controller. He can see the Wireless APs but they are pending.

Troubleshooting: By design, TP-Link controller uses default username and password admin to add each AP. If you have changed the default admin password, it will show pending. You need to click on Pending to abode it, which will popup for the admin password you changed. If you don’t enter correct password or don’t remember the password, you need to reset the Wireless AP.


What’s the problem of This field should be visible ASCII

Situation: When the client sets up his password, he gets this message: This field should be visible ASCII.

Troubleshooting: Quoted: “ASCII, in full American Standard Code for Information Interchange, a standard data-encoding format for electronic communication between computers. ASCII assigns standard numeric values to letters, numerals, punctuation marks, and other characters used in computers”.

Some symbols may not allow to use as password. In our example, it can’t take space.


Fixing QNAP: “Failed to upload disk analysis data”

Situation: The client has QNAP storage and receives this message: Message: [Storage & Snapshots] Failed to upload disk analysis data. Disk: Host: Disk 2. The network quality is poor. The system will retry uploading the data once per day. After 7 failed attempts the data will be automatically deleted.

Troubleshooting: This is just a warning and will not affect the data on the drive. You may wat to disable it if the message persists.

  1. Go to NAS Storage & Snapshots.

2. Click on Global Settings icon located on the top right of the window.

3. Click on Disk / Device.

4.  Disable “Share my disk analysis data with QNAP” and click “Apply”.


Cisco boot looping: Failed to launch boot task binos_script.service

Situation: After upgrading Cisco C9200 switch from 17.06.03 to 17.06.04, the switch has a loop booting with this message: Failed to launch boot task binos_script.service


Cause: We checked the issue, and we observed that switch had packages’ files in flash. In this case, customer performed the IOS upgrade in Install mode but something happens during the process. Fortunately, in the flash was .bin file of the new version. In other words, current operation mode is install and should use package file instead of .BIN file. If you prefer to use boot from .BIN file, convert install mode to Bundle mode. Please refer to this post:

Troubleshooting: We reset the switch. Please refer to this post:

Convert the mode to bundle mode and boot from .BIN file. Here is how.

switch:dir flash:


switch:set boot flash:cat9k_lite_iosxe.17.06.04.SPA.bin

set boot flash: meaning set up the variable boot on Bundle mode

switch:boot flash:cat9k_lite_iosxe.17.06.04.SPA.bin

This will reboot and load cat9k_lite_iosxe.17.06.04.SPA.bin and press RETURN to get started

After this procedure, device came up normally. Enable and check the software version.

The IOS upgrade to the 17.06.04 was successful. Switch Ports Model SW Version SW Image Mode
—— —– —– ———- ———- —-
* 1 56 C9200-48P 17.06.04 CAT9K_LITE_IOSXE BUNDLE


Please view this step by step video:


Cisco loop booting: Failed to load driver dp lr_oobnd

Situation: After upgrading Cisco C9200 switch from 17.06.03 to 17.06.04, the switch has a loop booting with this message:  Failed to load driver dp lr_oobnd ( modprobe: FATAL: Module dplr_oobnd not found in directory /lib/module s/4.19.237 (rc 1) ).

Cause: We checked the issue, and we observed that switch had packages’ files in flash. In this case, customer performed the IOS upgrade in Install mode but something happens during the process. Fortunately, in the flash was .bin file of the new version. In other words, current operation mode is install and should use package file instead of .BIN file. If you prefer to use boot from .BIN file, convert install mode to Bundle mode. Please refer to this post:

Troubleshooting: We reset the switch. Please refer to this post:

Convert the mode to bundle mode and boot from .BIN file. Here is how.

switch:dir flash:


switch:set boot flash:cat9k_lite_iosxe.17.06.04.SPA.bin

set boot flash: meaning set up the variable boot on Bundle mode

switch:boot flash:cat9k_lite_iosxe.17.06.04.SPA.bin

This will reboot and load cat9k_lite_iosxe.17.06.04.SPA.bin and press RETURN to get started

After this procedure, device came up normally. Enaale and check the software version.

The IOS upgrade to the 17.06.04 was successful. Switch Ports Model SW Version SW Image Mode
—— —– —– ———- ———- —-
* 1 56 C9200-48P 17.06.04 CAT9K_LITE_IOSXE BUNDLE


Mitel phone: Coming calls have been transferred to different extension

Situation: The client reports that some coming calls for their group queue have been transferred to different extension 111.

Troubleshooting: We find in their AD profile for a user it looks like 111 is defined as his work phone number. Removing the extension 111 from the user’s Properties fixes the problem.


Can’t login his Microsoft 365 with Error Code: 53003

Situation: One of our salespersons can’t login his Office 365 with this error:

 You cannot access this right now

Your sign-in was successful but does not meet the criteria to access this resource. For example, you might be signing in from a browser, app, or location that is restricted by your admin.

Error Code: 53003

Troubleshooting: In most cases, it is related to Microsoft Azure conditional access policy. You can find more information by going to Azure Security page.

  1. After login Azure, go to Security>Conditional Access>Sign-in logs.

2. You can use User contains to fill and find the user who has the issue. That also shows the IP address and location.

3. To see more details, double click on the failed to login username. You can also click on Lunch the Sign-in Diagnostic.

4. Diagnose and solve problems will shows you more details, which will give you more details for troubleshooting. In our example, Conditional access block any access from out of USA.

Please view this step by step video:

Can’t login Cisco switch through SSH

Situation: The client just purchased and configured a new Cisco C9200 switch. They can login Serial without issue. However, they can’t login SSH. SSH doesn’t take the password.

Troubleshooting: Run these configuration commands.

C9200(config)#line vty 0 4
C9200(config-line)#login local
C9200(config-line)#transport input ssh
C9200(config-line)#exit
C9200(config)#ip ssh version 2
C9200(config)#ip ssh authentication-retries 3
C9200(config)#
C9200(config)#ip ssh time-out 120
C9200(config)#exit

Fixing Remote Server returned ‘550 5.1.8 Access denied, bad outbound sender

Situation: One of our clients receives a spam or fishing email. All her emails go to Deleted Item folder automatically. After she changes her Office 365 password, she can’t send email with this return message:

Delivery has failed to these recipients or groups:

helpdesk@chicagotech.net
This message couldn’t be delivered because the sending email address was not recognized as a valid sender. The most common reason for this error is that the email address is, or was, suspected of sending spam. Contact the organization’s email admin for help and give them this error message.

Diagnostic information for administrators:

Generating server: CH2PR16MB3509.namprd16.prod.outlook.com

helpdesk@chicagotech.net
Remote Server returned ‘550 5.1.8 Access denied, bad outbound sender. For more information please go to http://go.microsoft.com/fwlink/?LinkId=875724. S(9333) [PH0PR16MB4914.namprd16.prod.outlook.com]’

Troubleshooting: The virus may create some rules to move all email to the Deleted Item folder and Microsoft 365 may block the email account. scan any virus or malware. If it is clean, reset Outlook rules and unblock the email account.

Step 1: Reset Outlook rules

  1. Login Outlook.
  2. Under Home, click on Rule and select manage Rules & Alerts

3. Delete those rules you don’t create.

Step 2: Unblock the email account

  1. Login Microsoft 365.
  2. Click on Security

3. Click on Review.

4. Delete blocked email address from Restricted entities.