How to remove virus alerts

Situation: You’re browsing online, and suddenly a pop-up appears on your screen, indicating your device has a virus and prompts you to download a software to remove it. Unfortunately, this could be a fake virus alert.

If you’re dealing with virus alerts that keep popping up, here are some steps you can take to get rid of them:

  1. Restart your computer: in a case you have clicked the alert download or scan link, the first step is to restart your computer. This should help you get rid of installing the virus.

  1. Scan Your Computer: Even if you believe your system is clean, it’s a good idea to run a deep antivirus scan. To run Windows defense, please follow these steps: 1) Type Windows security in the search bar, open Windows security

2) Click on Virus & protection.


3) Click Scan options, select the option you prefer, for example Full scan. Then Scan now.

4) Follow the instruction to complete the scan.


  1. Reset Browser Settings: If the pop-ups persist, consider resetting your browser settings to their default state. This can help remove any suspicious extensions or settings that might be causing the alerts.

Fr Microsoft Edge

Go into your browser settings, I use EDGE, go to >>>>>Cookies and site permissions

Manage and delete cookies and site data

Top of page: Cookies and data stored

(Manage and delete cookies and site data)

Next down same page: Site permissions

(All sites)

Next down same page: Recent activity

THIS IS WHERE YOU NEED TO BE!

The latest changes made to site permissions

You should see a list of recent sites, and you should open each one in turn and RESET Permissions, at th etop of the page, on each and every recent sites since they started popping up, I did them all.

The reason these aren’t detected as malware is because they aren’t, they’re simply browser notifications that you allowed by doing exactly that, clicking the ‘Allow’ button displayed on some web page, possibly not even named the same, that displayed as a popup while you were browsing in the past.

The other option for these more annoying advertisers is other not the obvious ‘Block’, but something you might not recognize like ‘Maybe next time’, ‘Not right now’, or other longer phrases that are also often displayed in light gray, which are difficult to see. So, pay attention when clicking any popup displayed, since they’re often tricks by advertisers trying to get you to accept their less reputable garbage.

All major browsers like Edge and Chrome also have these, but the methods to manage them are different and so you’ll need to look elsewhere for how to deal with them on 3rd-party browers.

Here’s how to disable pop-ups on Windows 11:

  1. Open Settings

  2. Select System

  3. Select Notifications

  4. Select Notifications from apps and other senders

  5. Toggle off Get notifications from apps and other senders

  6. Scroll down and select Additional settings

  7. Uncheck everything

Or refer to this lnk:

Manage website notifications in Microsoft Edge – Microsoft Support

How do i get rid of popup false virus alerts in Windows 11? – Microsoft Community

  1. Manage Website Notifications: Some of these fake alerts might be browser notifications that you inadvertently allowed. To manage website notifications in Microsoft Edge, follow these steps:
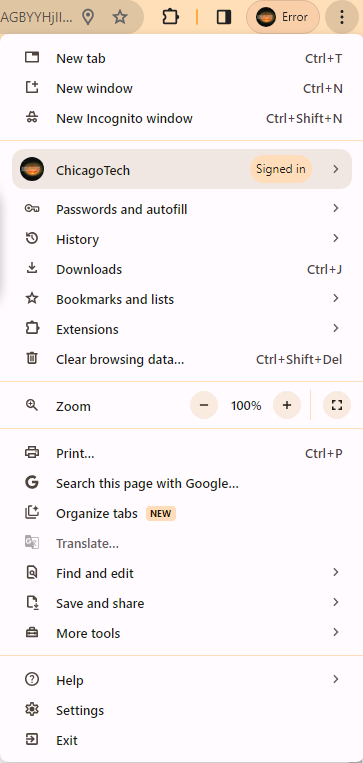
  2. Block the popup:

Why GV-Edge Recording Manager is empty

Situation: The client has GV-VMS Camera system. They just install GV-Edge Recording Manager in one PC. When they open the GV-Edge Recording Manager, he Live View is empty.

Troubleshooting: It is because they login as guest.

Please login administrator to see all cameras.

The default administrator login is username: admin and password: admin.

Now, you should see all cameras.

Keep connecting to a shared folder

Situation: The client has a camera security software Geovision connecting to a PC as shared storage. it works in initial configuration. However, it loses the connection after Windows update and restarting computers.

Resolution 1: Mapping to the storage using Reconnect feature.

Resolution 2: Create the same credentials on both computers so that the Geovision software access storage without re-entering credentials.


Why WeChat notification doesn’t work?

If you are not receiving WeChat notifications, you can try the following12:

  • Log in to WeChat > Me > Settings > Message Notification to check if it is open normally.
  • Clear individual Cached Data – Settings > Apps > Wechat> Storage > Clear Cache.
  • Check on app update – Tap on Play Store> Tap on 3 lines (top left)> Tap on my apps and games> Tap on update all.
  • Check on phone notification settings.

Troubleshooting authenticator app loop

First, try to uninstall and reinstall the Microsoft Authenticator app on your device.

If that doesn’t work, try to clear the cache and data of the Microsoft Authenticator app. You can do this by going to Settings > Apps > Microsoft Authenticator > Storage > Clear Cache and Clear Data.

If the issue persists, try to reset your Microsoft Authenticator app. You can do this by going to Settings > Accounts > Microsoft Account > Security > More security options > Identity verification apps > Microsoft Authenticator > Remove. After removing the app, you can add it again by following the instructions on the screen.

If none of the above steps work, you can try to verify your identity using a different method. Check if you have the option to choose to receive a verification code via text message or email instead of using the Microsoft Authenticator app.

Or disable MSA for a test.

Many pop up after add Chrome Extensions

Pop-ups after adding Chrome extensions may be caused by unwanted software or malware. Other signs of malware include:
  • New tabs that won’t go away
  • A homepage or search engine that changes without permission
  • Unwanted toolbars or extensions that keep coming back
  • Redirections to unfamiliar pages or ads
  • Alerts about a virus or infected device

Resolution 1: Reset browsers back to default settings

  1. For Chrome, click the three dots in the top-right corner and then click on Settings.

2. Click Reset settings.

Resolution 2: Remove Chrome Extensions

  1. Click on Extensions icon.

2. Click in 3 dots of the Extension you want to remove and Click on Remove from Chrome.

or click on Manage Extensions.

Resolution 3: Change default pop-up and redirect settings
  1. Open Chrome
  2. Click More in the top right
  3. Click Settings
  4. Click Privacy and security
  5. Click Site Settings
  6. Click Pop-ups and redirects
  7. Choose your preferred default setting
    Resolution 4: Enable the “Block pop-ups” option by going to chrome://settings/content/popups.

GV-MVS and GV-eye screen shows different devices’ order

Q: After re-installing GV-VMS, we find GV-MVS and GV-eye screen shows different order. In other words, Phone app GV-eye sorted by ID and GV-MVS by name. For example, the order on GV-VMS shows 1-, 2-3-…, but the phone app shows order by ID #. Could you let us know  how to change the ID #, for example ID 1= 1-Front-IP215, ID 2=2-Side-IP111…? Or other way to make them both sorted by name?

A: For the GV-Eye app you connected to the VMS server,

By the screenshot you provided is using Easy Mode, which will only use the VMS channel ID to list the live view as the channel order.

To use the order that with the ID#1 > 1-Front-IP215, ID#2 > 2-Side-IP115

Then you can have 2 options to work with:

  1. change the GV-Eye from Easy Mode to General Mode, which you can define the layout on your own.

Manual: https://s3.amazonaws.com/geovision_downloads/Manual/GV-Eye/GV-Eye-Installation-Guide.pdf

Article: [4.1 General Mode]

Note: Disabling Easy Mode will change the GV-Eye from Easy Mode to General Mode.


  1. modify the VMS channel ID by disconnect the channel first and click the ID number to reveal the dropdown list to change ID number.

Notice this will also affect the changes of the recording policy and the storage policy.

These are step by step:

  1. In General Mode, tap Group management.

2. Tap the Group, for example Group-1.

3. Select style.

4. Tap Yes to Modify the settings.

5. Now, we can arrange the cameras order.