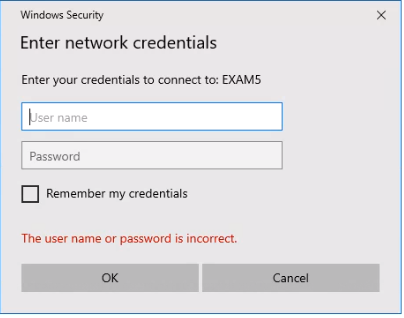
By design, when a user tries to access a network shared folder on a remote computer running windows, the prompt will popup for entering a credentials. This article shows how to enable unauthenticated (anonymous) access to a shared folders on a Windows . The windows could be a Windows 10 or Windows server that is sharing a folder.
Note: From the security point of view, it is not recommended to enable anonymous network access for a guest account
1.Configure Local Anonymous Access Group Policies to Enable guest account
•Open the Local Group Policy Editor on a Windows, which you want to enable anonymous access to by typing gpedit.
•Click Open.
•With the Local Group Policy open, navigate to Computer Configuration -> Windows Settings -> Security Settings -> Local Policies -> Security Options. •Configure the following policies:
Accounts: Guest Account Status: Enabled
2. Configure Network access
•With the Local Group Policy open, navigate to Computer Configuration -> Windows Settings -> Security Settings -> Local Policies -> Security Options •Network access: Let Everyone permissions apply to anonymous users: Enabled
* Network access: Do not allow anonymous enumeration of SAM accounts and shares: Disabled
3. Enable network folder sharing in Windows
* Click Settings.
* Click on Network & Internet
* Click on Ethernet
* Click on Change advanced sharing options
* Check both Turn on network discovery and Turn on file and printer sharing
4. Configure a folder for sharing
* Right click on the folder you want to share and select Properties.
• Click on Sharing and then Advanced Sharing.
* Check Share this folder
•Highlight Everyone and check Change and Read
•Click OK
•Highlight Everyone and check Change and Read
•Click OK
* Click Security and click on Edit
* Click on Add
* Enter everyone and click OK
•Now highlight Everyone and check Modify.
•Click OK to save the settings.
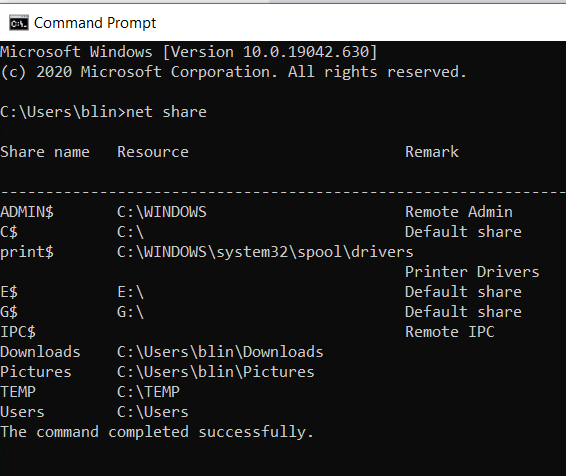
•Check the sharing, open command prompt
•Type net share and press enter
Please view this step by step video: