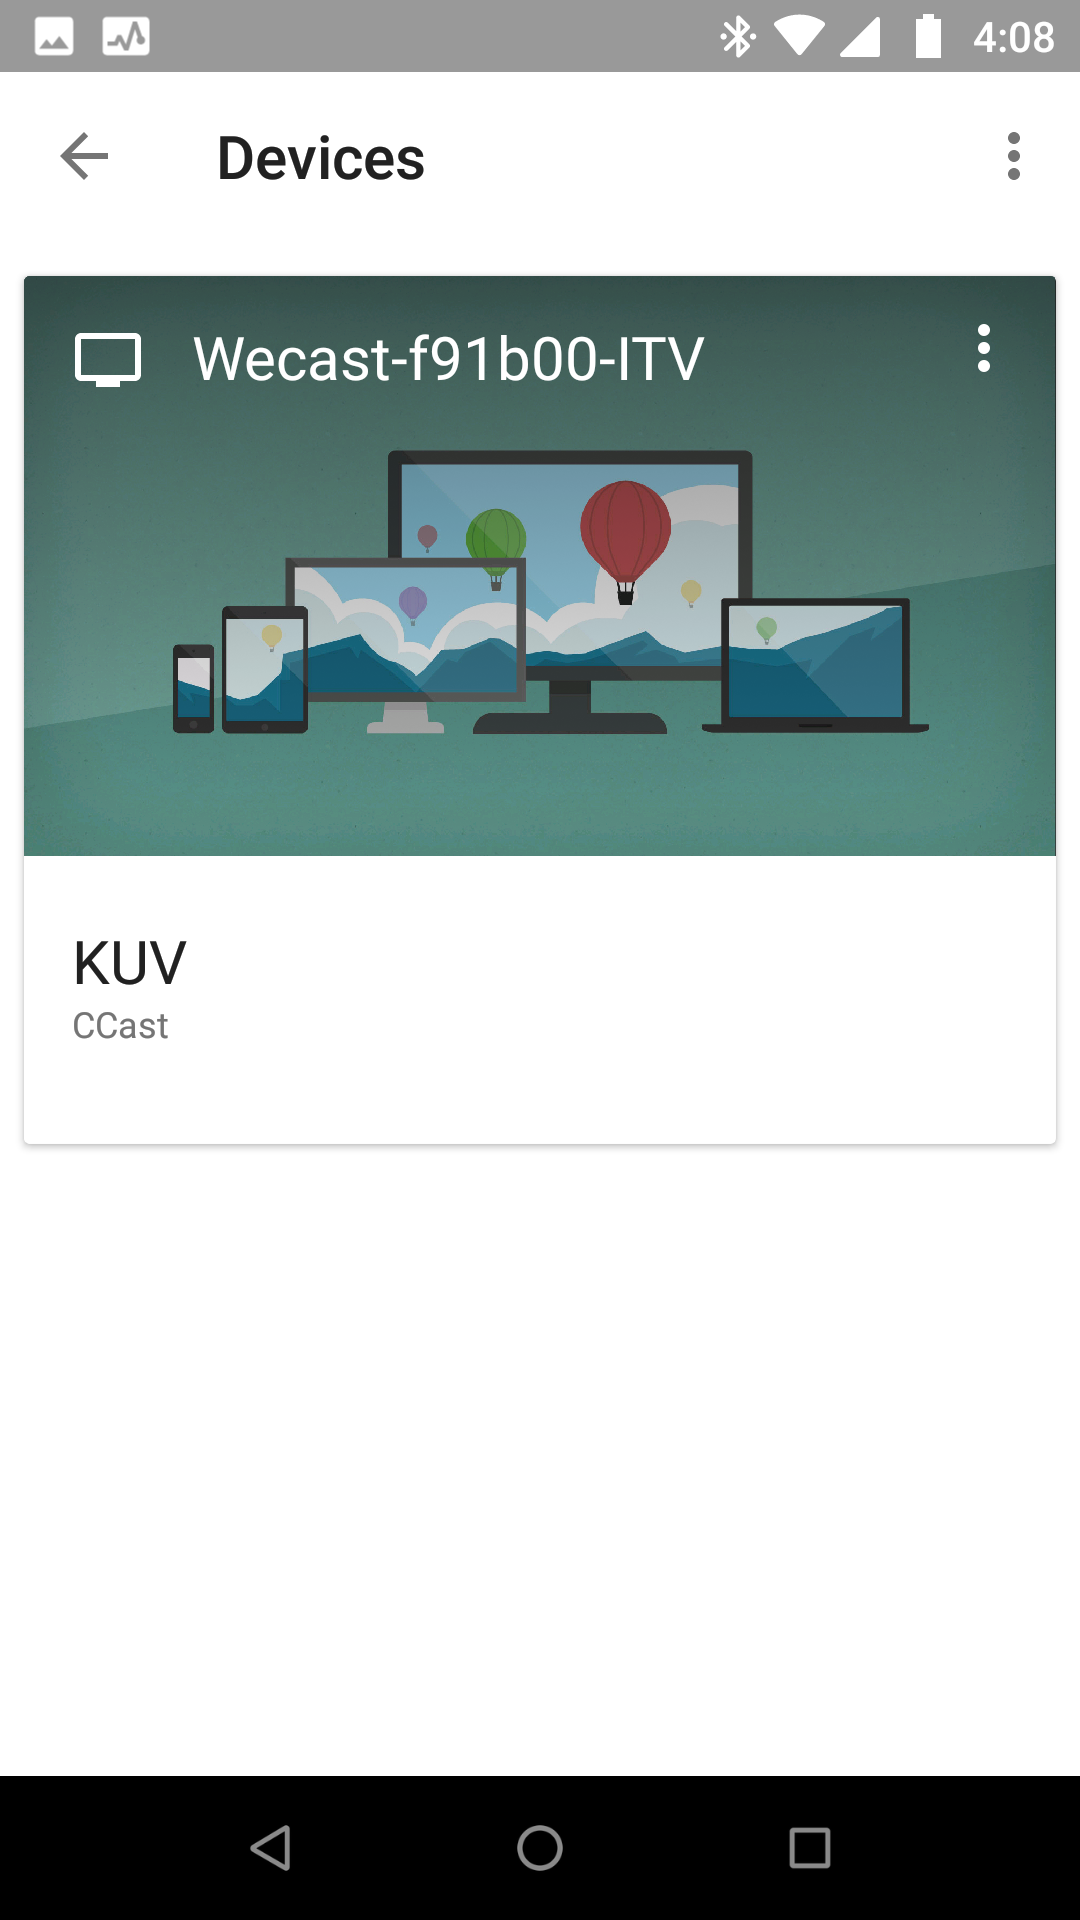
Situation: The client has Windows 10 laptop, which can use Windows Wireless Display. However, Chrome cast can’t find Roku TV. Note: New Roku supports Miracast.
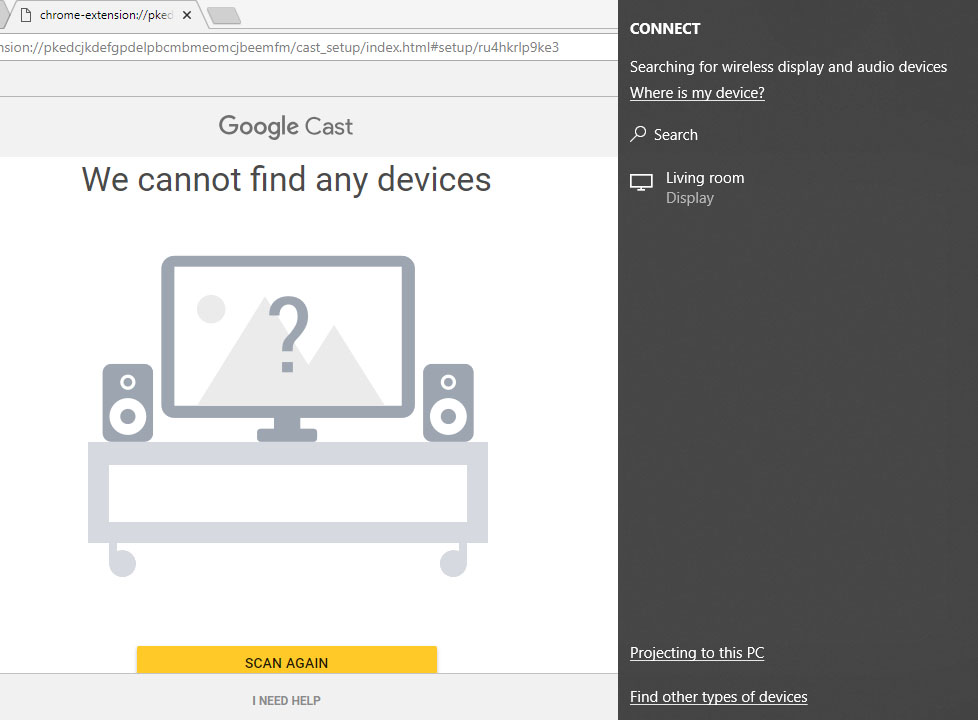
Troubleshooting: 1. Based on our search, Roku products, Apple TV products, and Amazon Fire TV products aren’t using Cast technology and therefore can’t be linked to Google Home. Note: New Roku supports Miracast.
2. Update your WiFi, router, Roku firmware.
3. Try to Enable/Disable Quality of Service (QoS) to see if that fix the problem.
4. Reset all devices: Most connectivity issues can be remedied by simultaneously restarting the ROKU device as well as the Router. You might have Roku WiFi issues during the show or movie that you’re watching stops suddenly, usually with a message such as, for example, “connecting” or “transferring.” You may also observe a message that says Roku has lost its WiFi connection. This may happen even if your Roku says it has a strong signal from your WiFi router.
In such situation rebooting the Roku can briefly resolve the issue, however if it continues returning, it is better to change the WiFi router or you can buy a new cable modem
5. Disable the train wreck that is wifi interference mitigation which causes the Roku to try to drown out nearby wifi sources. Here is how1) Start up the Roku and get to the home screen.
1) Start up the Roku and get to the home screen.
2) Press these 10 buttons quickly: HOME-HOME-HOME-HOME-HOME-FFWD-PLAY-REWIND-PLAY-FFWD
3) Select “Wireless Secret Screen” from the menu choices
4) Select “Interference” from the menu choices.
5) Choose “None”
6. Change Roku TV settings: I went into the Roku stick settings and changed the tv to 720. No more buffering.
7. Change WiFi channel: There is a free Windows program, WifiInfoView, which can be downloaded and run and will show all kinds of information about the wifi networks in your immediate area. Change your wifi channel to one that none of your neighbors are using. This will help both video and remote signals.
8. Change MTU settings: This made a very noticeable improvement in my PCs network performance (changed from the default 1500 to 1492 for ATT dsl). Either my Roku 3 sets it automatically (certainly possible) or it doesn’t and my streaming performance is degraded.
9. Also check any other software and computers that may be processing your video. For example, I got much better performance by changing my PlayOn software Video Performance setting from Auto to Medium. A fast computer also helps if the computer is doing video conversion while streaming.
10. Check for wireless interference: Cordless phones, microwave ovens, or other wireless devices near your router can all cause wireless interference, so move them away from your wireless router.
11. Check any anti-virus or security software blocking the traffics.


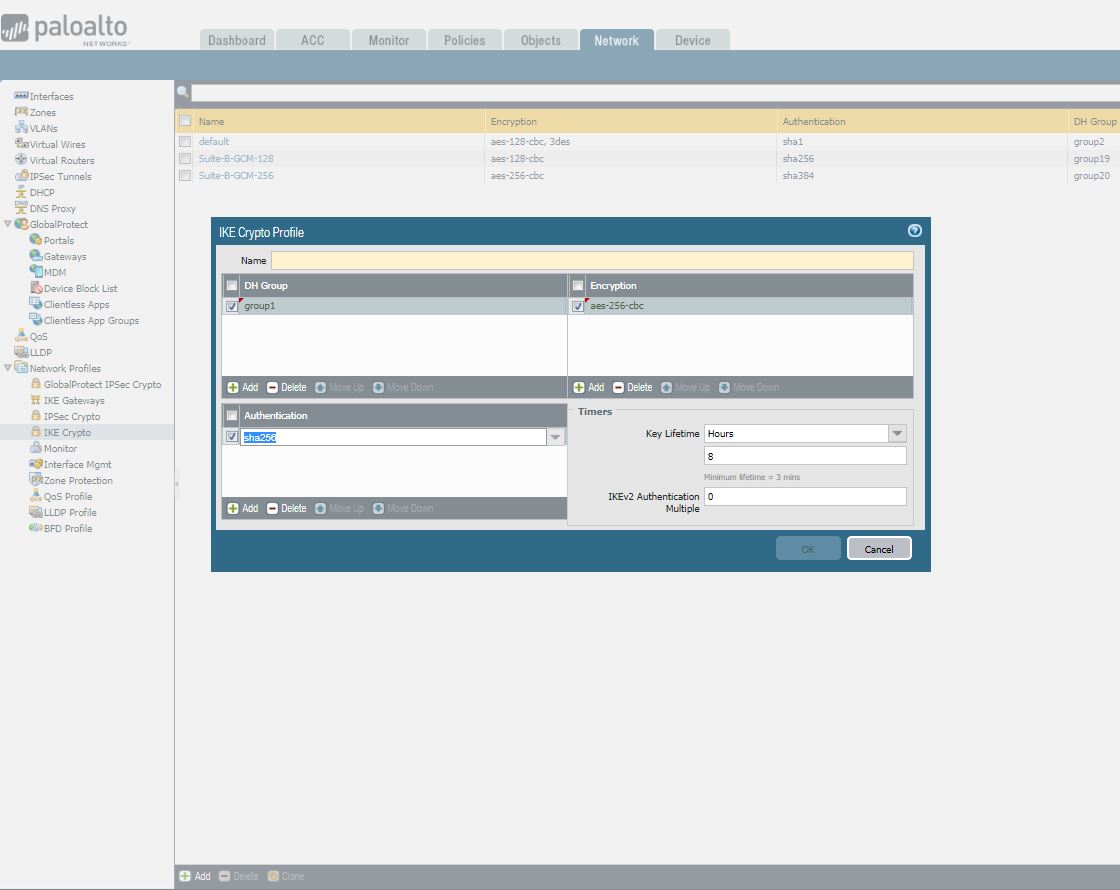
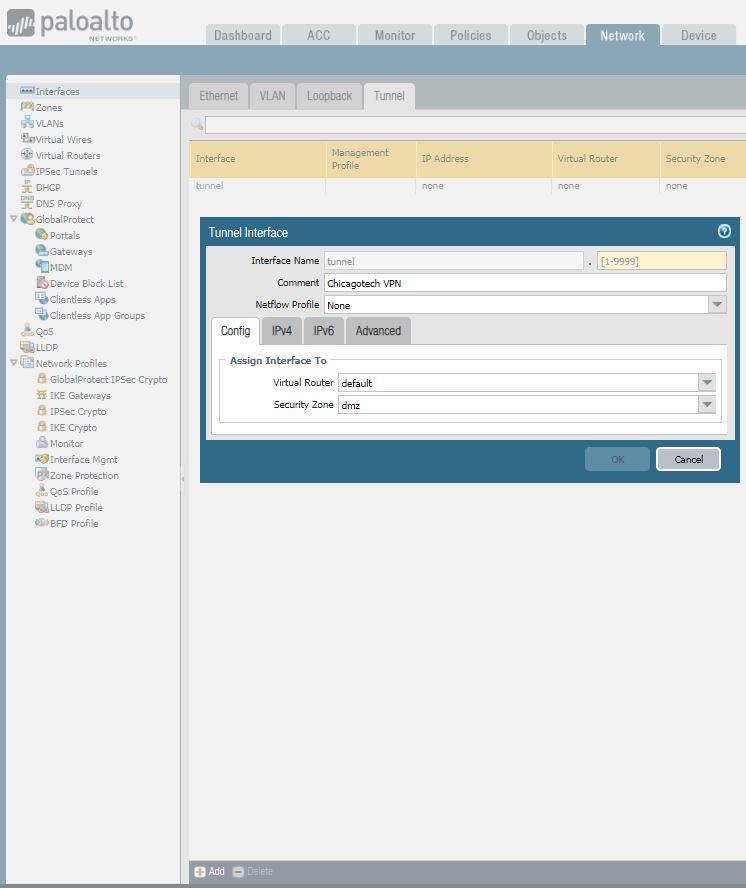 2. Go to Network > Network Profiles > IKE Crypto , click Add and enter the IKE Crypto profile (IKEv1 Phase-1) parameters. These parameters should match on the other site firewall for the IKE Phase-1 negotiation to be successful.